
Hi there,
I guess you've been hit by a lot of spammy emails in your Ghost blog and you simply want to keep only the good ones in the future. Keep in mind that Subscribers feature in Ghost, at this moment, is in beta. In the future, Ghost will release a stable version of Subscribers. Then you won't need this tutorial because they will handle the spammy emails. Until then feel free to use this to filter your subscribers.
For this tutorial you'll need a Zapier account, a MailChimp account and a live Ghost blog.
Create a MailChimp list
To create a new list in your MailChimp account, follow these steps:
- Navigate to List page.
- Click Create List
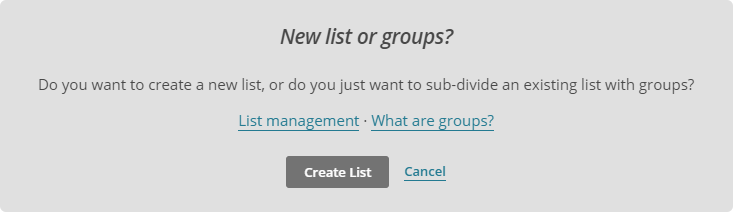
- Click Create list in the New list or groups? box.
- Fill the data for List details, Form Settings and Notifications that you want this list to have.
- Click Save after you are finished.
Edit MailChimp Signup Form
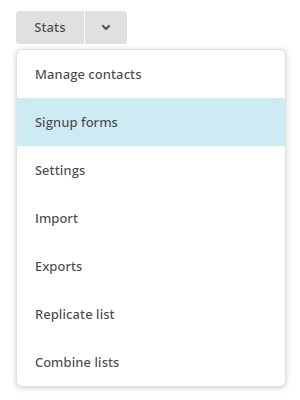
After you create your new MailChimp list you'll have to go to Signup Forms.
Then click Select next to Form Builder.

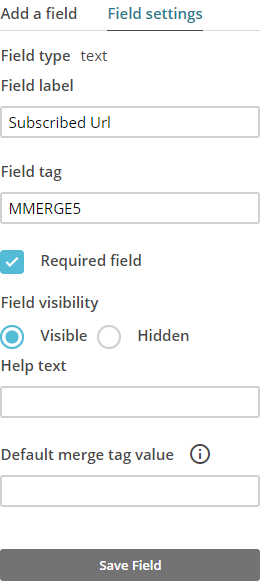
You'll need to add another Text field.
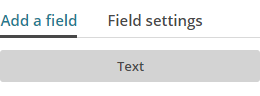
You can call it Subscribed Url. Make sure it is a Required Field.
This is all you have to do in MailChimp. Now let's move over to Zapier.
Make a Zap!
Go to your Zappier account and click Make a Zap! button.
Trigger Step
On the Trigger step you have 4 substeps:
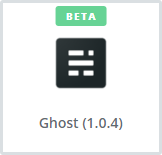
- 🖊️ Choose App - Search for Ghost and then select it as your Trigger App.
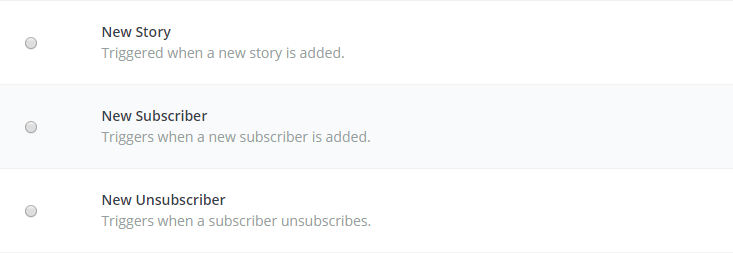
- ⚡ Choose Triger - Select New Subscriber Trigger.
- 👨 Choose Account - Click Connect an Account.
Admin URL - The URL of your Ghost admin area, using HTTPS. Should look like: https://example.com/ghost/.
Email - The email you use to login to your Ghost blog's admin area. Make sure this user has the Owner or Administrator role.
Password
Select the account that you set. Click Test to see if it works ok. Then click Save + Continue. - 🏁 Pull in Samples - Click Fetch & Continue - Make sure you have at least one recent subscriber created, that wasn't a spam.
Action Step
On the Action step you have 5 substeps:
- 🖊️ Choose App - Search for MailChimp and then select it as your Action App.
- ⚡ Choose Action - Select Add/Update Subscriber.

- 👨 Choose Account - Click Connect an Account.
Username - Add your MailChimp username.
Password - Add your MailChimp password.
Select the account that you set. Click Test to see if it works ok. Then click Save + Continue. - 📝 Set Up Template - You'll need to set all 3 required fields.
List - Select the list that you created on MailChimp before
Subscriber Email - Insert Email Field from the dropdown.
Subscribed Url - Insert Subscribed Url field. - 🏁 Test this Step - If you see Subscribed Url with red and empty your Test will fail. That is because you selected in Trigger Step, at Pull in Samples, a spam email. Spam emails do not set Subscribed Url. You'll need to manually add a subscriber on your website and then go and Fetch again a subscriber. If you don't want to do this, you can simply skip the test part and click Finish.
Make sure your Zap is on.
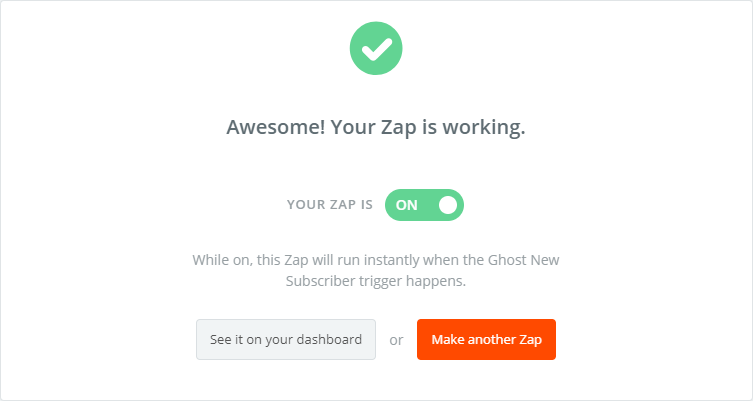
You should test manually your Zap and see if it works.
Go to your Ghost blog and add a new subscriber. You should see the new subscriber in MailChimp. The spammy emails will be filtered. Those emails that are in Ghost, but are not in MailChimp, are spam. You can remove them.
That is all.
Any questions? Drop a comment below.
